Blow-drying looks simple enough to skip the instructions. Pick up the tool, aim it at wet hair, and wait. The result, for most people most of the time, is frizz that appeared during the dry, volume that collapses by noon, ends that feel coarser with each wash, and a scalp tender enough to notice for the rest of the day. Knowing how to blow dry hair well prevents every one of these outcomes. Each problem has an identifiable cause, and each responds to a specific hair care correction.
Blow Drying Hair Tips
The difference between a good blow-dry and a damaging one comes down to a handful of physical variables. Airflow direction, nozzle distance, heat consistency, and the state of the hair when the dryer turns on determine the outcome every time. Get those right and the tool does its job. Get them wrong and the dryer works against the hair it is supposed to be styling.
Point the Nozzle Down the Hair Shaft
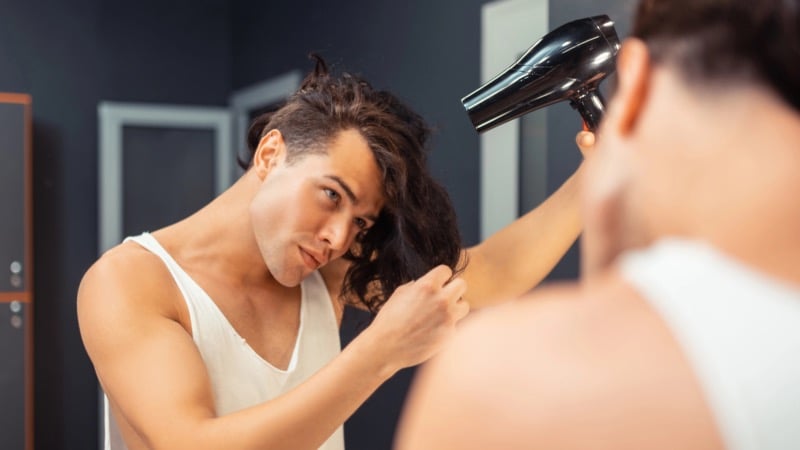
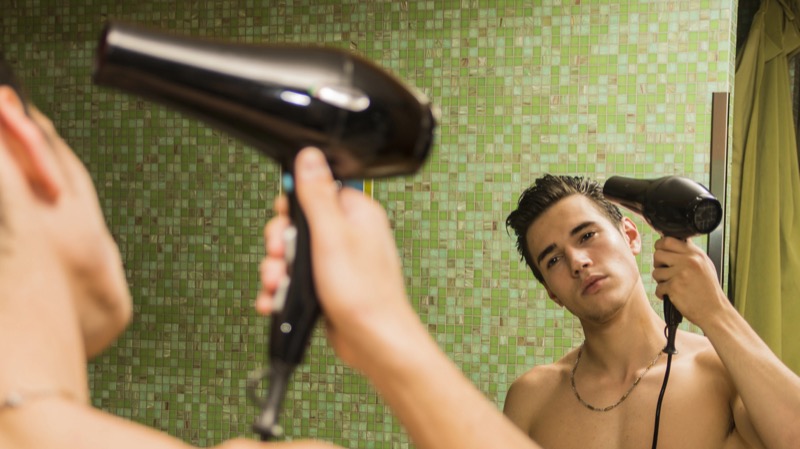
How to blow dry hair without frizz: Hair has a cuticle layer made of overlapping scales that lie flat when undisturbed. Airflow that hits the strand from underneath or from the side lifts those scales, creating the rough, light-catching surface most people call frizz. A concentrator nozzle aimed at a 45-degree angle down the shaft, from root to tip, pushes the cuticle flat and keeps it there. The nozzle should follow the brush through each section, always traveling in the same direction. Holding it still on one spot creates a hot zone and uneven drying, while reversing the angle lifts the cuticle right back up.
Keep the Heat Consistent
Temperature spikes do as much cuticle damage as bad airflow direction. Budget dryers struggle to hold a steady output, so the cuticle gets shocked open and closed repeatedly during a single session. Tools with proper thermal regulation, including the ghd hair dryers range, maintain a consistent temperature throughout the dry. That stability keeps the cuticle sealed and the surface smooth from root to tip. If the concentrator nozzle gets too hot to touch after a few minutes, the heat setting is too high. Drop it down and increase the airflow speed instead.
Lift at the Roots for Volume That Lasts
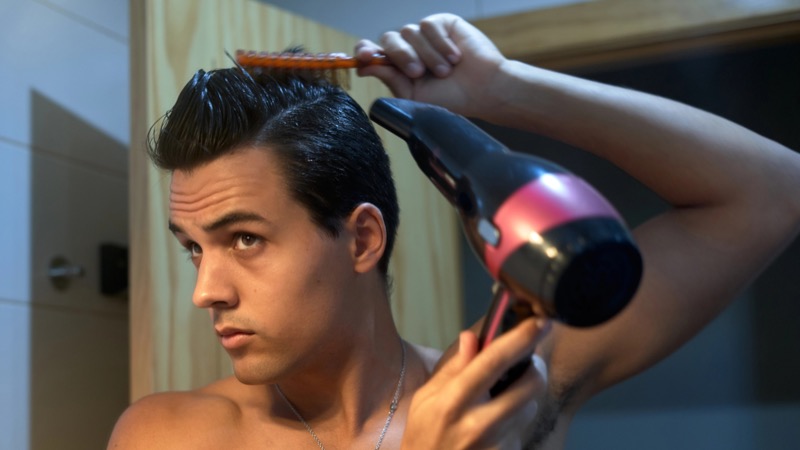
Hair sets in the position it dries in. Pointing every section downward produces flat roots by default, and heavy creams, smoothing balms, and leave-in masks applied before drying compound the problem by weighing the hair down at the scalp. A lightweight mousse or volumizing spray applied at the roots only keeps the product load low. Lifting each section up and away from the scalp during the dry, then locking the shape with the cool shot button, creates root lift that holds through the day.
Lower the Heat to Protect the Ends
Hair is a protein, and proteins denature above roughly 150 degrees Celsius. Most dryers on a high setting sit between 110 and 140 degrees at the nozzle, but cheaper models spike past that threshold with no warning. Each dry at excessive heat removes moisture from inside the strand and fractures protein bonds in the cuticle. The ends absorb the most cumulative damage because they have been through more drying sessions than the roots, and over months they start to feel straw-like and snap when brushed. The correction is to lower the heat, keep the dryer moving faster, and finish each section with the cool shot.
Hold the Dryer 15 Centimeters from the Scalp
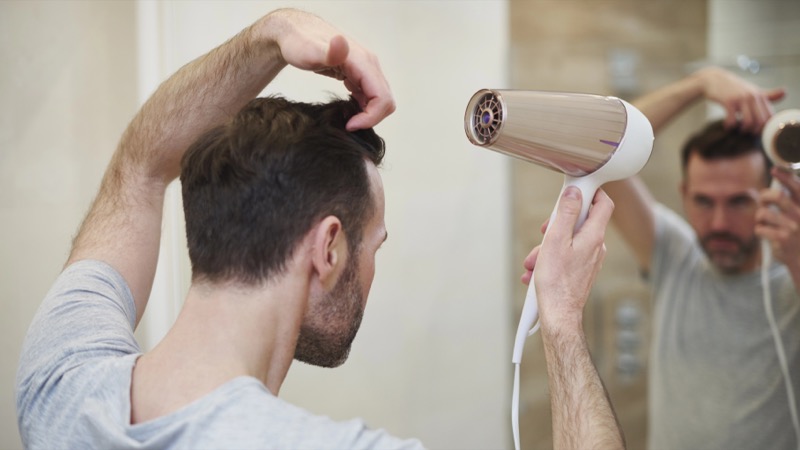
A sore or tender scalp after blow-drying means the nozzle was too close, the heat too high, or both. Fifteen centimeters between the nozzle and the scalp is the safe working distance. Anything closer and the skin absorbs direct heat, which can leave it flaky or tender for days. People with thinning hair or sensitive scalps feel this faster than anyone else. The trade-off for lowering the heat is roughly 60 to 90 extra seconds of drying time, which is a fair price for healthy skin underneath the hair.
Use an Ionic Dryer to Cut Static
Static builds when hair loses moisture too fast and the strands develop opposing electrical charges that repel each other. Dry winter air accelerates the effect, but the dryer itself does the bulk of the work. Ionic dryers release negatively charged ions that neutralize the positive charge accumulating on the strands, reducing flyaways and helping water evaporate at a controlled rate. The technology works best when paired with steady temperature control. An ionic dryer that runs too hot still produces static, because over-drying outpaces the ions. A light mist of leave-in conditioner before drying adds a thin protective layer to the cuticle that helps hold onto moisture during the session.
Clean the Rear Filter Every Month
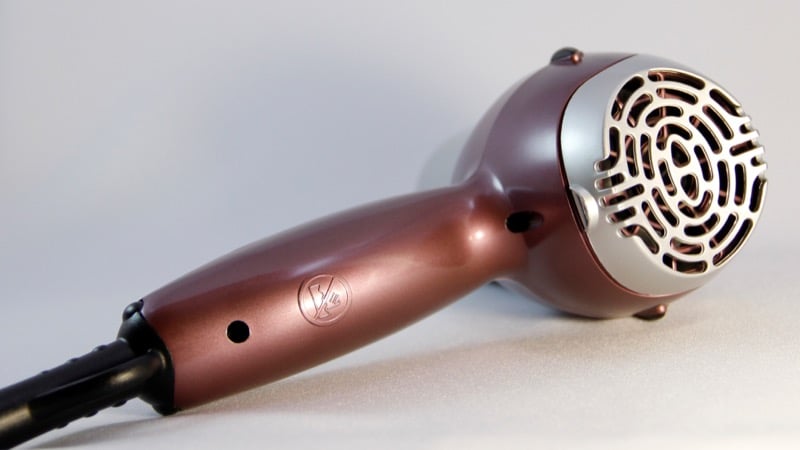
Every dryer pulls air through a rear vent that collects lint, loose hair, dust, and skin cells over time. As the filter clogs, the motor strains to pull the same volume of air, which causes overheating and eventually burns the motor out entirely. This is the single biggest reason dryers die after a year or two. Cleaning the filter monthly with an old toothbrush extends the life of almost any dryer significantly. Most filters pop off or unscrew. If a dryer starts smelling faintly of burnt plastic during use, the filter is the first thing to address.
Start on Damp Hair, Never Soaking Wet
Hair is at its weakest when fully saturated, which is the exact moment most people reach for the dryer and turn it to maximum. Fragile wet strands combined with aggressive heat and the brushing required to detangle them cause more breakage than the dry itself. Squeezing excess water out with a microfiber towel or a soft cotton T-shirt first, then starting the dryer once the hair is damp, cuts drying time roughly in half and eliminates most of the mechanical damage. Pair that with a tool that holds steady heat, and the difference in texture and strength shows up within a week.